Hyundai Santa Cruz: Dual Clutch System / Dual Clutch Assembly

• Be careful not to damage the parts located under the vehicle (floor under cover, fuel filter, fuel tank and canister) when raising the vehicle using the lift.(Refer to General Information - "Lift and Support Points")
1.Remove the dual clutch transmission.(Refer to - "Dual Clutch Transmission System - Dual Clutch Transmission System")
2.Remove the snap ring (A).

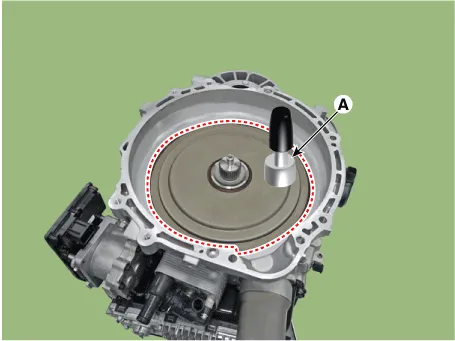
3.Remove the sealing cover (B) using a neodymium magnet (A).
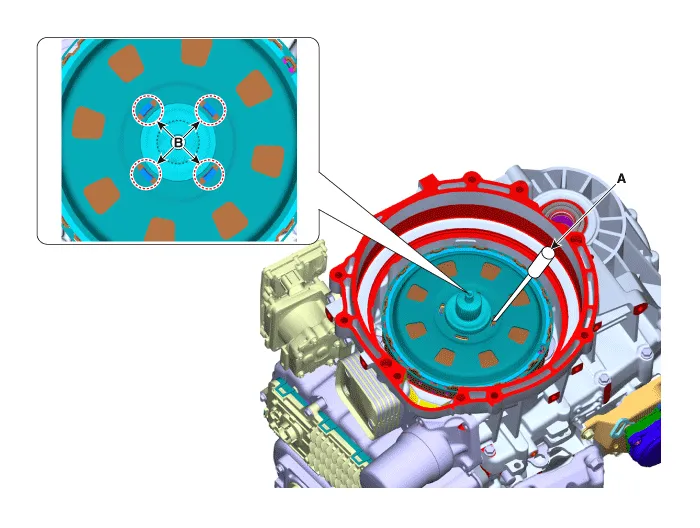
4.Match the dual clutch assembly hole (B) using the (-) screwdriver (A) as shown below.
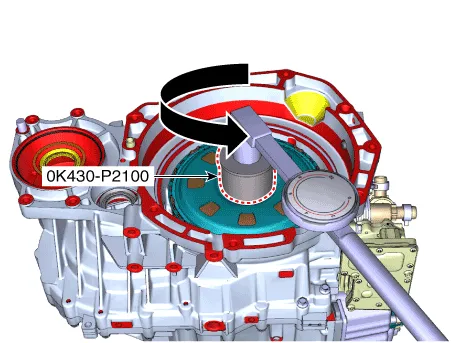
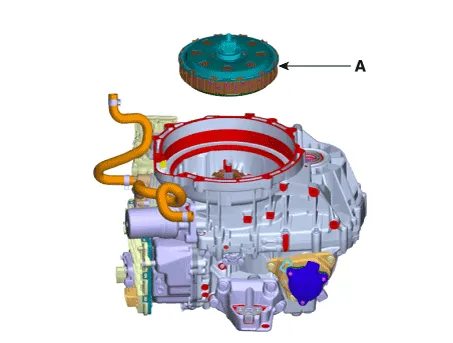
5.Remove the dual clutch assembly (B) using a special service tool(0K430-P2100) (A).
Tightening torque :45.1 -50.0 N.m (4.6 - 5.1kgf.m, 33.3 - 36.9 lb-ft)
1.To install, reverse the removal procedures.

• Replace the snap ring (A) with new one.

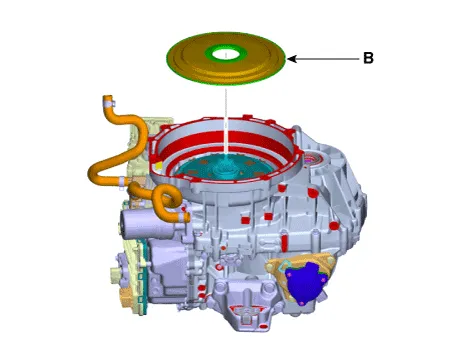
• Replace the sealing cover (A) with new one.
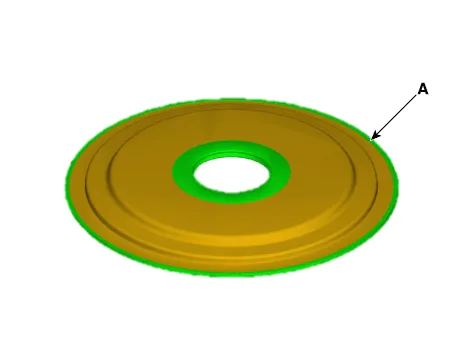
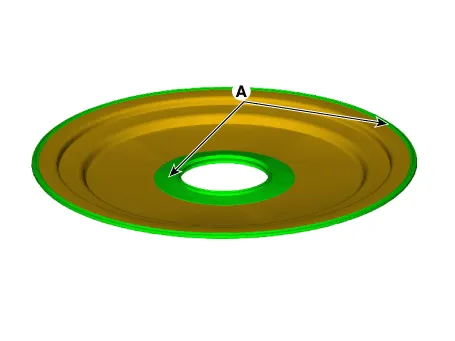
• Before installing the sealing cover, apply oil for lubrication/cooling to the inner/outer sealing face (A).
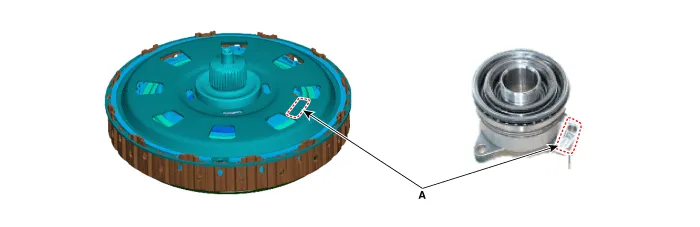
• The dual clutch assembly and the dual concentric slave cylinder must be replaced as a set. (Make sure to check their serial numbers are matched with each other)※ The part numbers of the dual clutch are different depending on the vehicle model. Therefore, when replacing the dual clutch, make sure to check whether the part number is matched with the vehicle specification.- Barcode location (A)
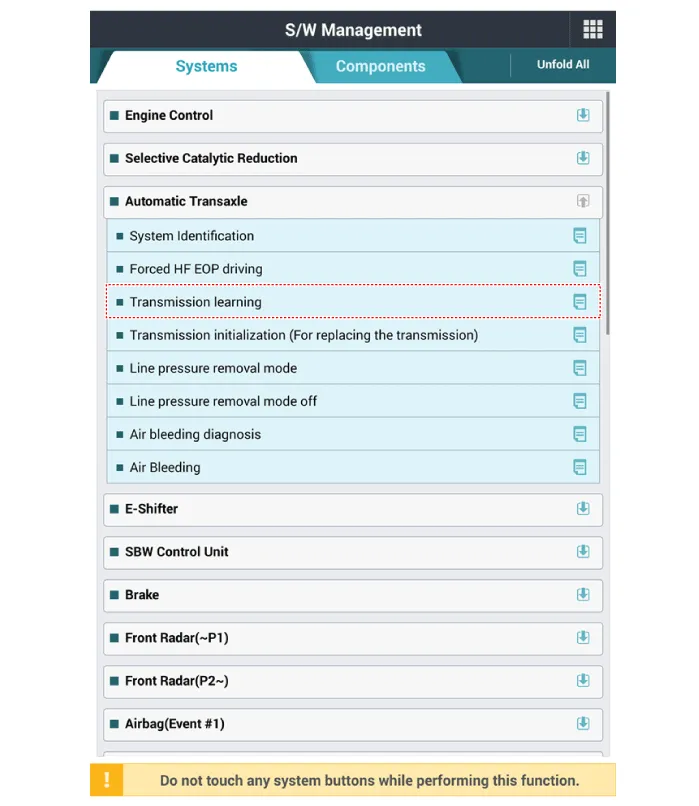
2.Perform the air bleeding procedure using the diagnostic tool.
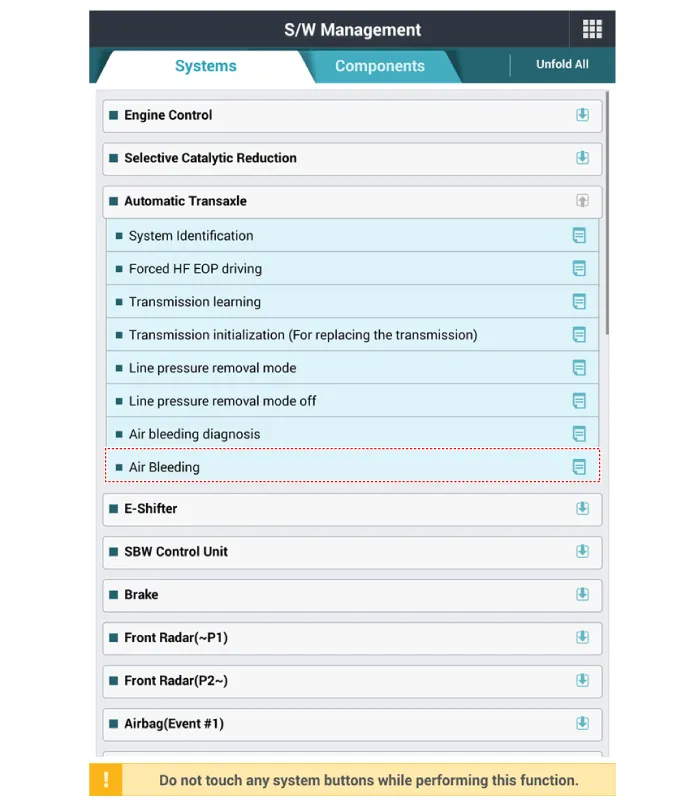
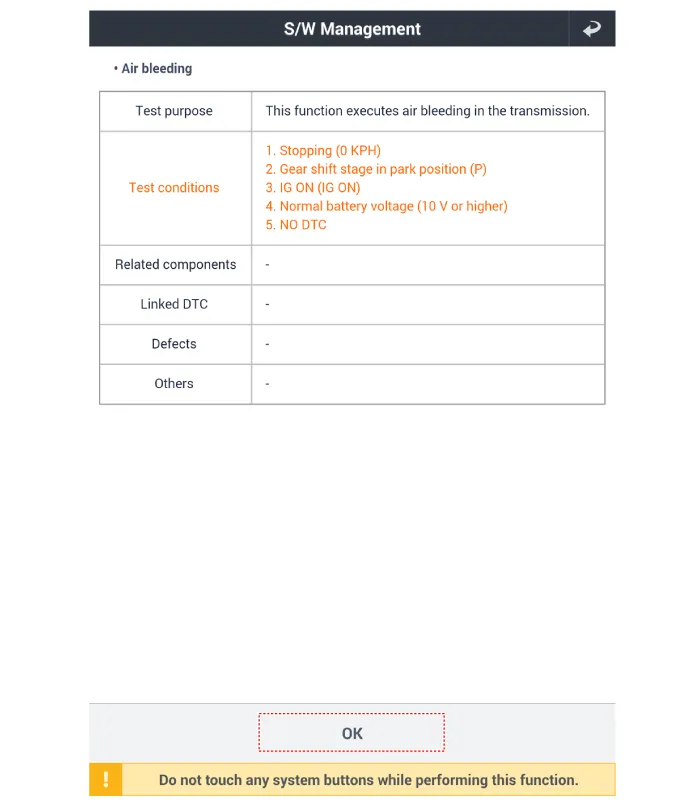
3.Perform the air bleeding procedure using the diagnostic tool.
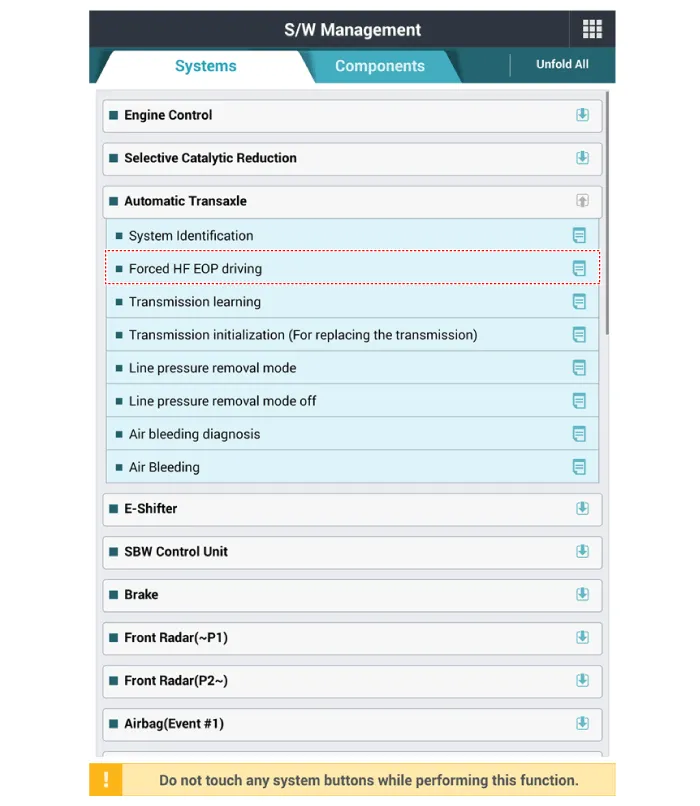
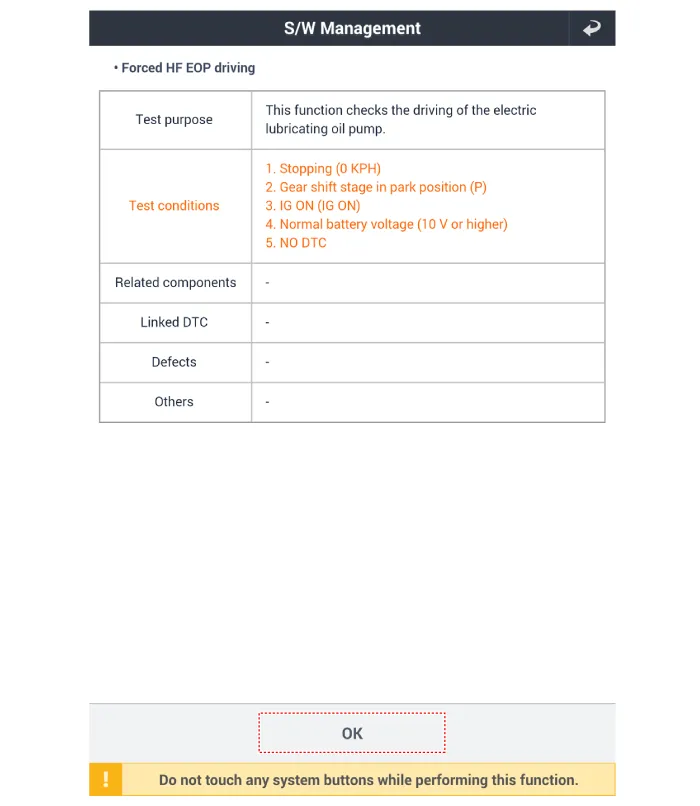
4.Perform the Forced HF EOP operation procedure using the diagnostic tool.
 Components and Components Location
- Components and Components Location
1. Dual concentric slave cylinder2. Dual clutch assmbly3. Sealing cover4. Snap ring
...
 Dual Concentric Slave Cylinder
- Removal
Cautions when removing/installing and transferring the dual clutch concentric slave cylinder.
• When lifting by holding the bearing, the bearing (A) will be
separ ...
Other information:
Hyundai Santa Cruz 2021-2025 Owners Manual: Sunshade
Use the sunshade to block direct sunlight
coming through the sunroof glass.
Open or close the sunshade by hand.
Information
The sunshade opens automatically when
the sunroof glass is opened, but the
sunshade does not close automatically
when the sunroof glass is closed. Also, only
the sunshade ...
Hyundai Santa Cruz (NX4A OB) 2021-2025 Service Manual: Front Seat Belt Pretensioner
- Component Location
1. Front seat belt pretensioner
- Replacement
• When installing the belt, make sure not to damage the pretensioner.
1.Disconnect the negative (-) battery terminal.
2.Remove the center pillar upper trim.(Refer to Interior Trim - "Center P ...
